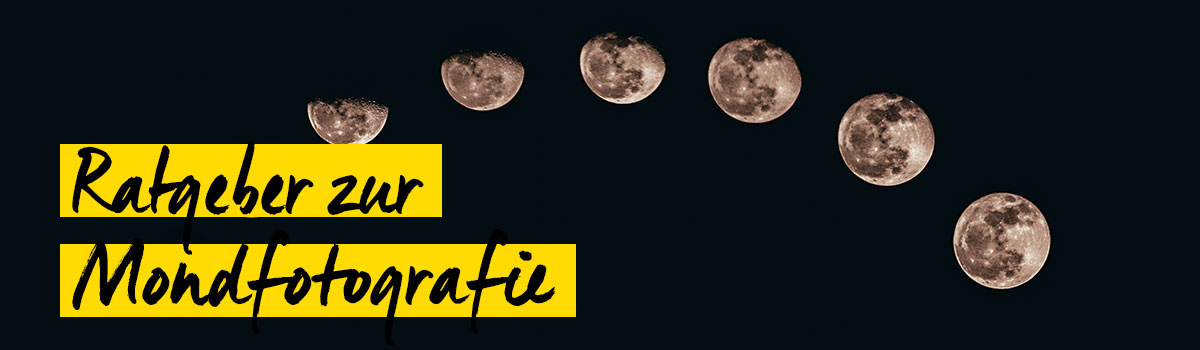
Guide to moon photography
There are not only a few myths and stories from the past few years about our celestial satellite close to the earth, but it is also more than ever the focus of astronomers, scientists and the like. In this article, we want to give you the best tips on equipment and settings for the perfect photo of the moon.
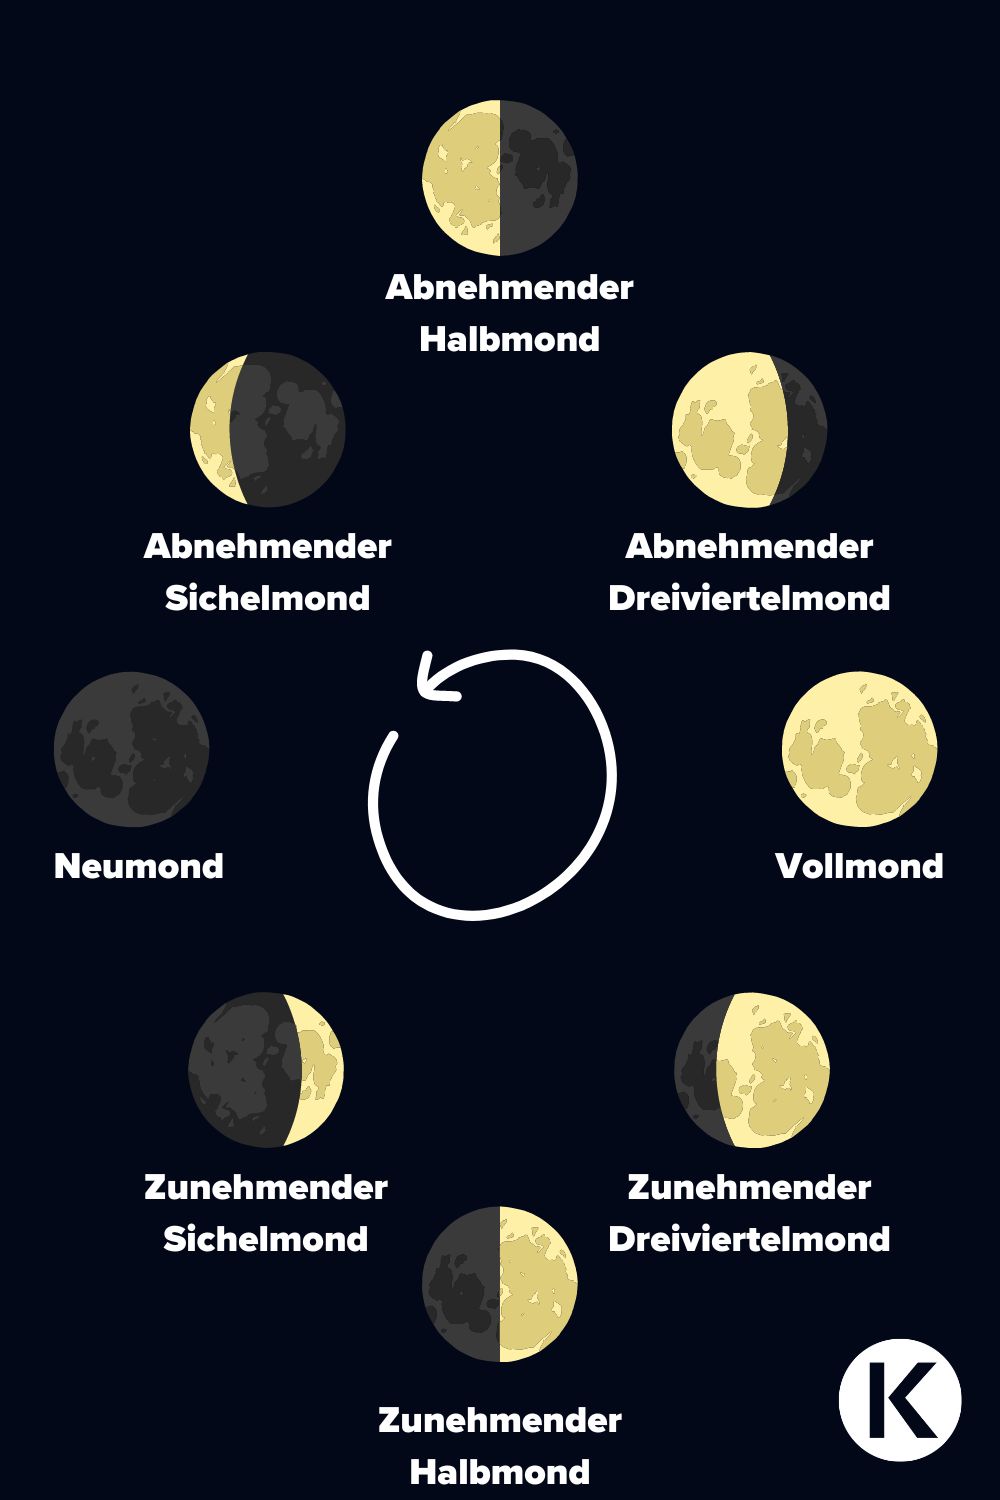

Moon phases
There are eight moon phases in which you can determine / record the position of the moon, which can be of interest to any photographer, as this is the best way to plan the perfect photo Using apps such as LunaScolCal Mobile, you can control the position of the sun and the moon and thus plan the final photo very well in advance.
The moon can be photographed in particularly rich detail and dramatically 6 days after the full moon, so perhaps plan your next moon photo in exactly this period.
What lunar events are there?
- Super moon / harvest moon
- Partial lunar eclipse
- New moon
- Full moon
- Super New Moon
- Mini moon
- Earthshine Nights (Da Vinci Glow)
- Penumbral eclipse
- partial umbra eclipse
- Total umbra eclipse / blood moon
 Clip mnemonic for the phases of the moon
The settings for photographing the moon
If you want to take perfect pictures of the moon, you can use the following settings as a guide. These are not only aimed at full-frame users, but can also be used by APS-C +& MFT photographers:
- Manual mode
- Point/spot metering
- ISO 100
- Exposure time between 1/20s - 1/120s
- Over 200mm focal length
- Image quality set to RAW
- Self-timer set to 2 seconds
If you use a 70-200 and have a teleconverter, you can increase your focal length with this and lose a little light intensity, but this is not too significant if you consider the aperture at which most shots are taken (2.8 / 4 / 5.6 / 8 / 11), if the camera used has more than 24 megapixels, then the shot can still be cropped very well afterwards without any loss of detail. At this point, we refer you to our Camera Basic article on megapixels.
The exposure time depends heavily on the phase of the moon. As a general rule, you should underexpose slightly, as the moon is known to reflect the light of the sun and overexposure occurs very quickly if you do not use spot/spot metering, as the surroundings are much darker than the targeted object.
The ISO should be in the lower range, i.e. between 100-200, otherwise many details will be lost, which is influenced by various factors. The temperature can also lead to a loss of detail in images due to flickering.
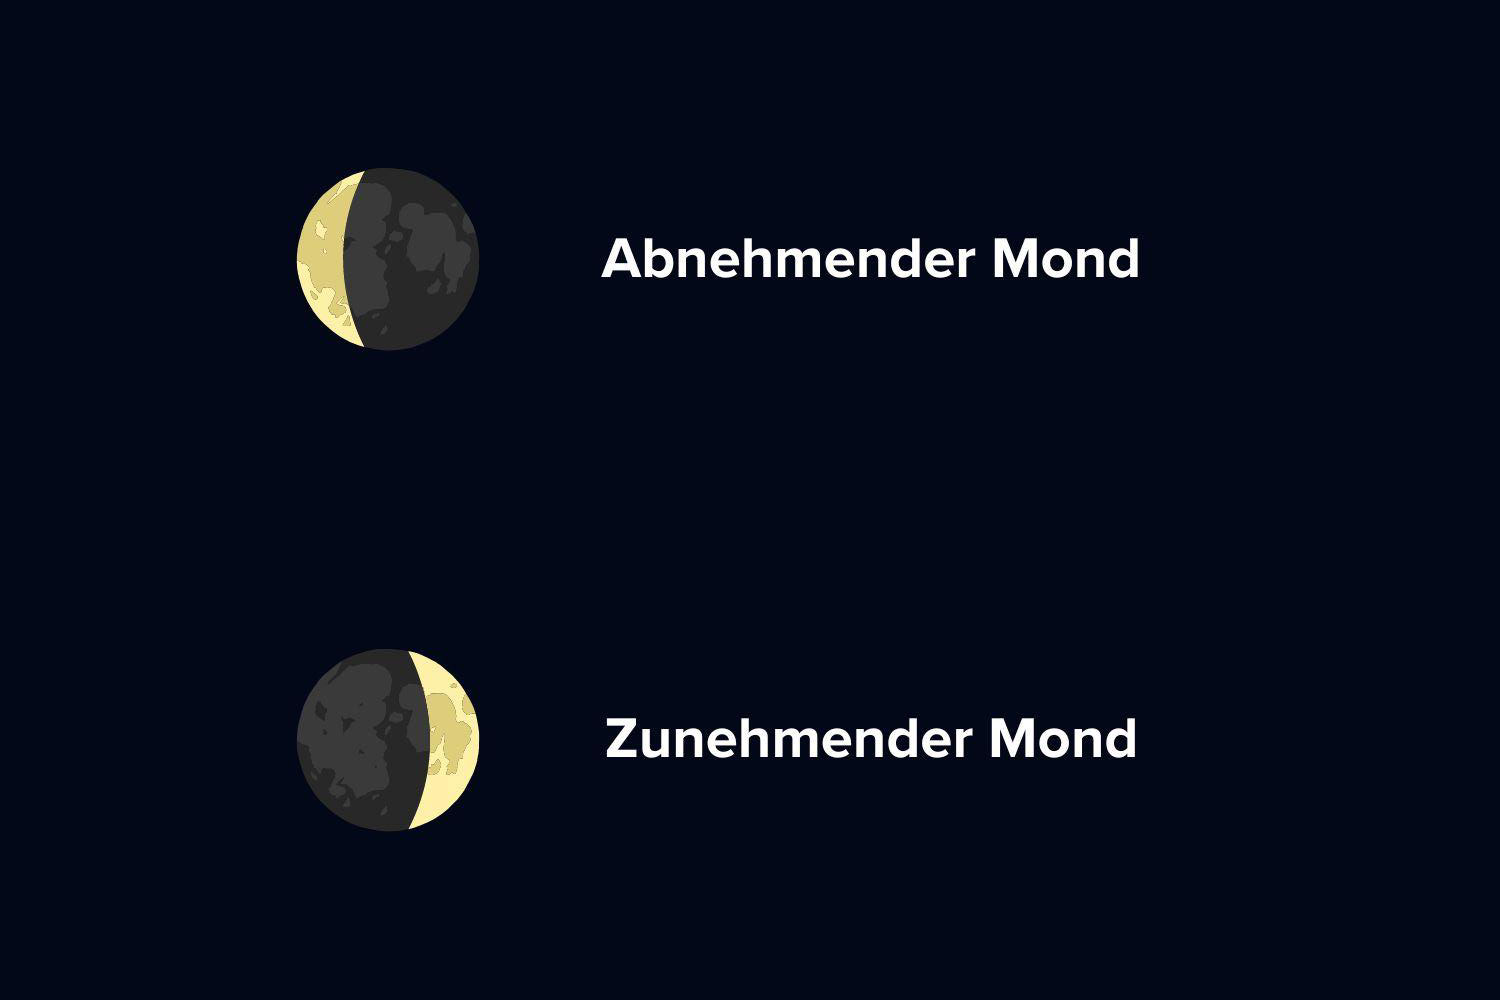
ISO tip for different phases of the moon
- Full moon - ISO 100
- Half moon - ISO 200
- Quarter moon - ISO 400
- Crescent moon - ISO 800
With the SLR camera
A special feature of the SLR system compared to the system camera is the mirror, which should always be set to "mirror lock-up" in astrophotography. This minimizes the vibration of the mirror in the shot.
The biggest problems when photographing the moon
- Camera shake due to wind
- Tripod with too high a load that the tripod head lowers
- Automatic mode switched on
- Exposure time set too long
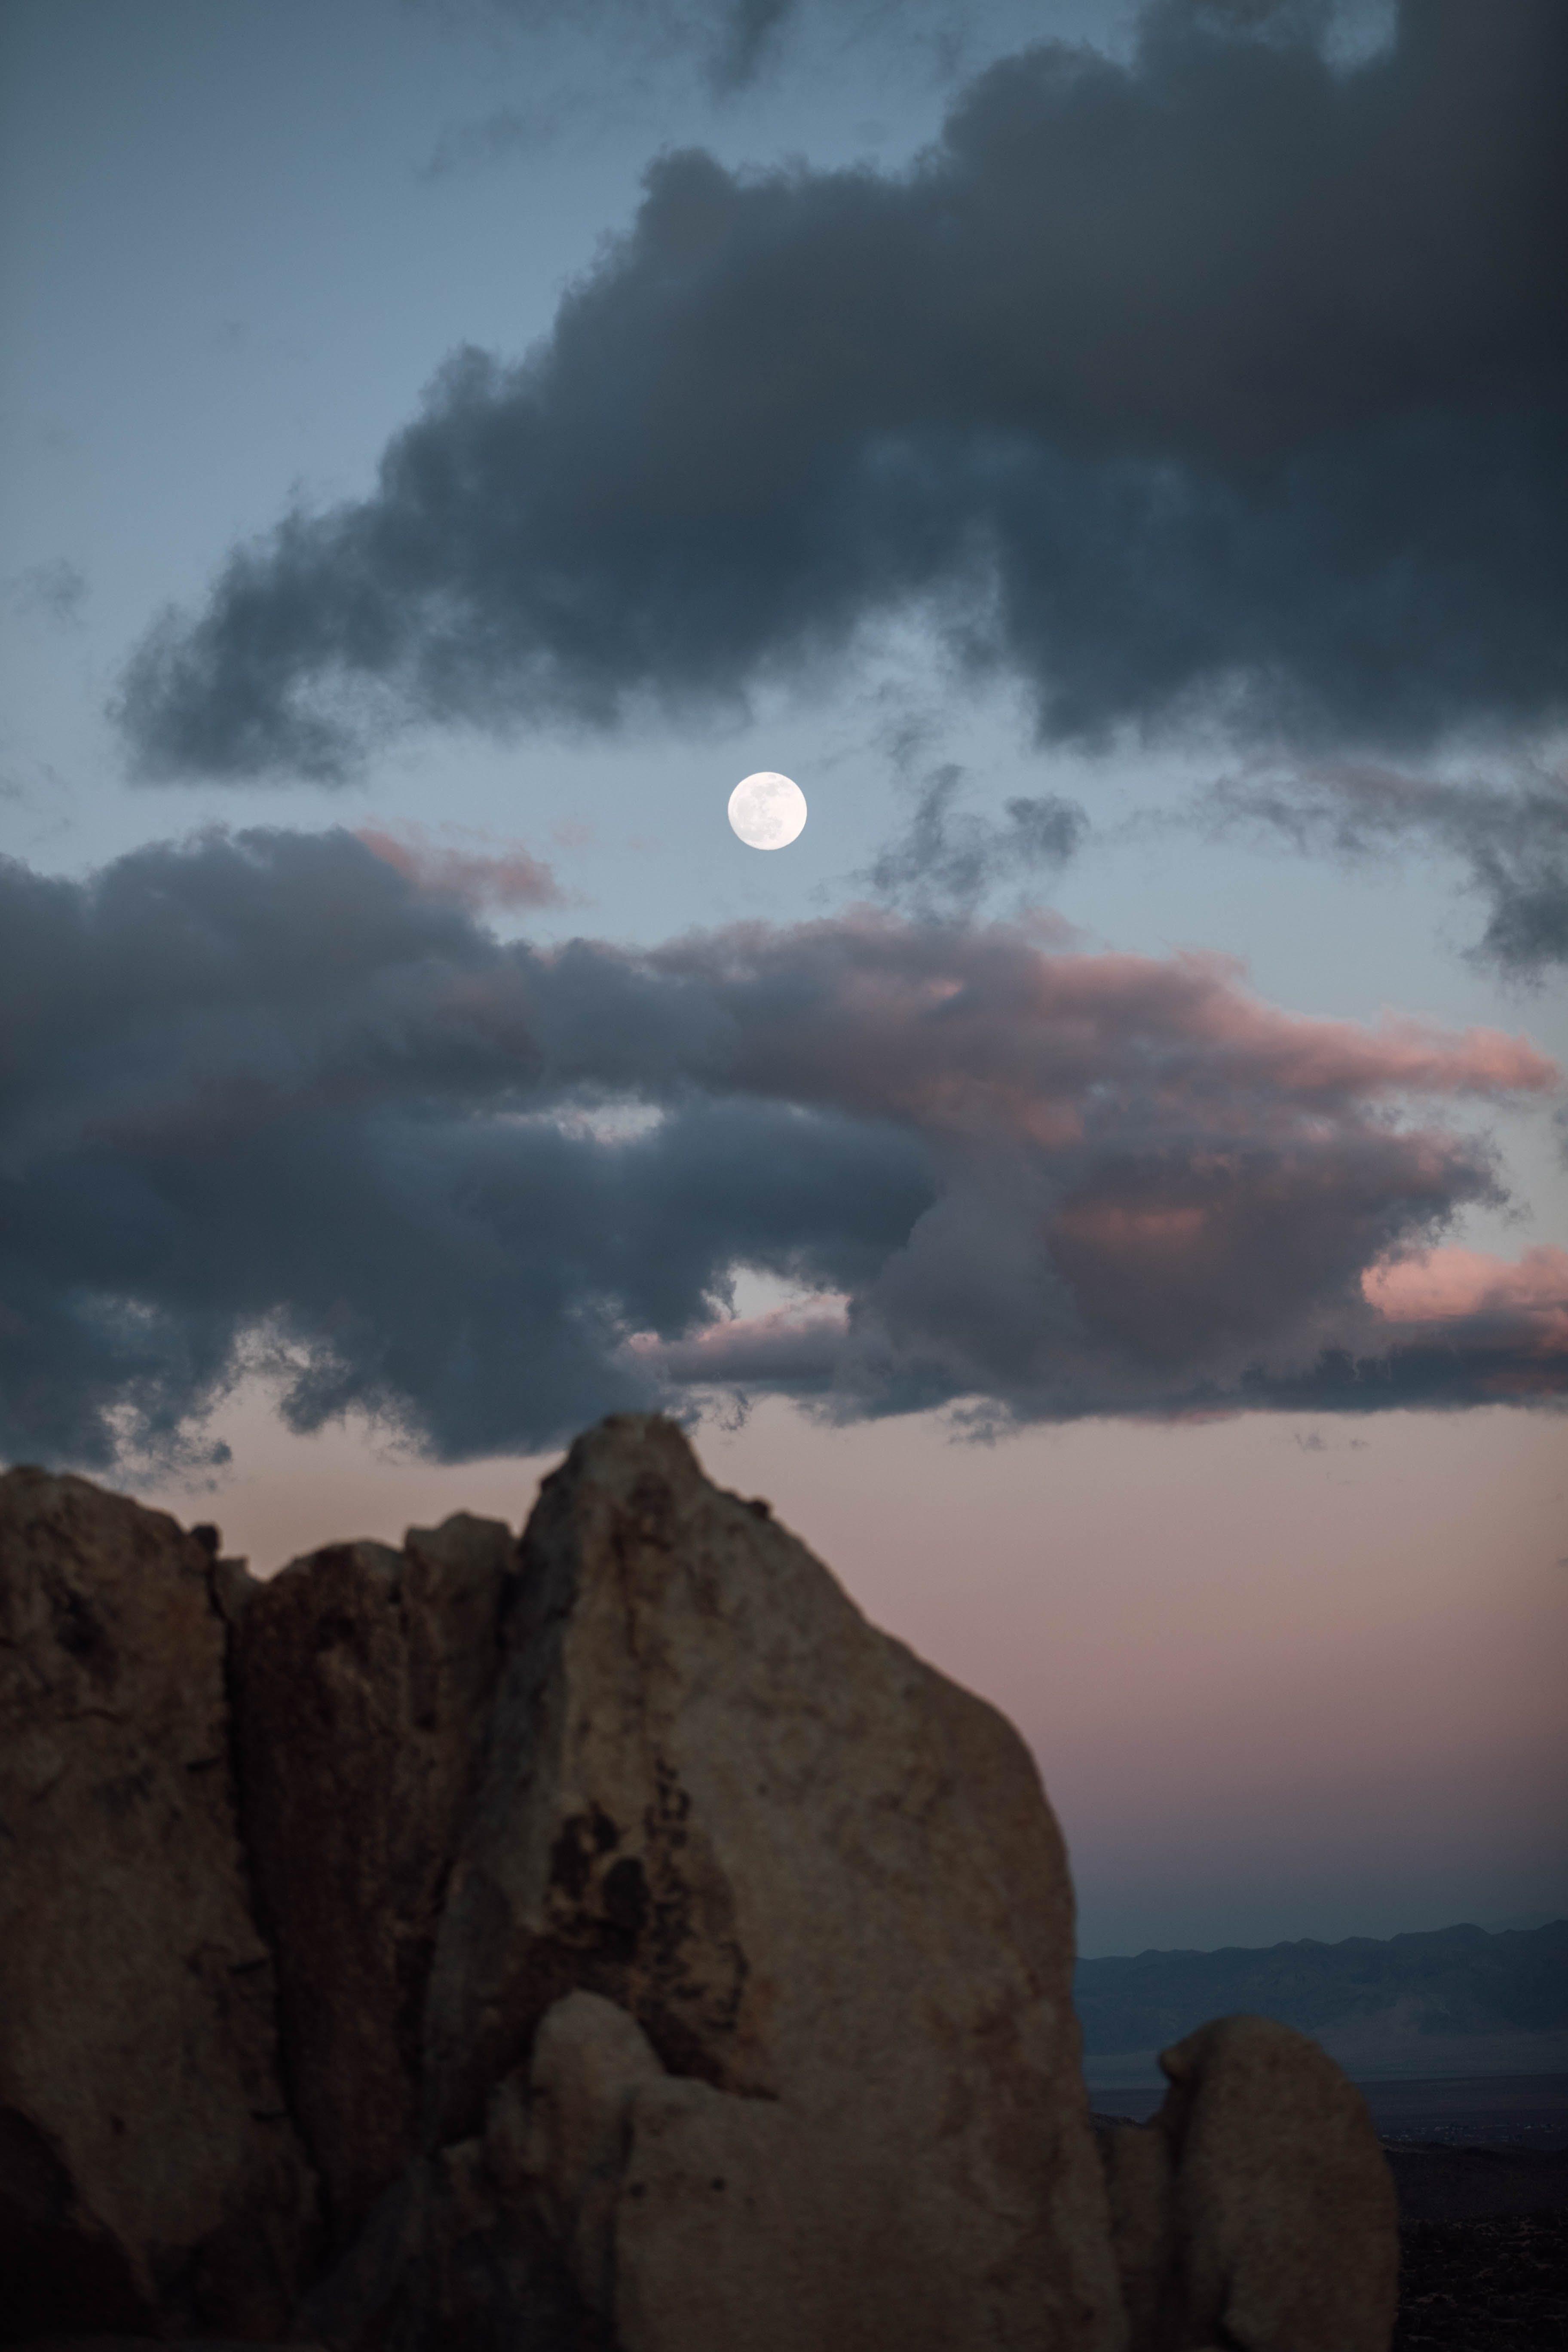
Photographing landscapes with the moon
The most difficult challenge is landscape photography, you can't win here, the moon is either correctly exposed or the landscape, in the early evening hours with residual light from the setting sun you may have a chance here that the pictures get a very nice dynamic and color mood.
Our tip here is to take an HDR shot with two or more exposures and then expose the moon correctly once and the landscape once.
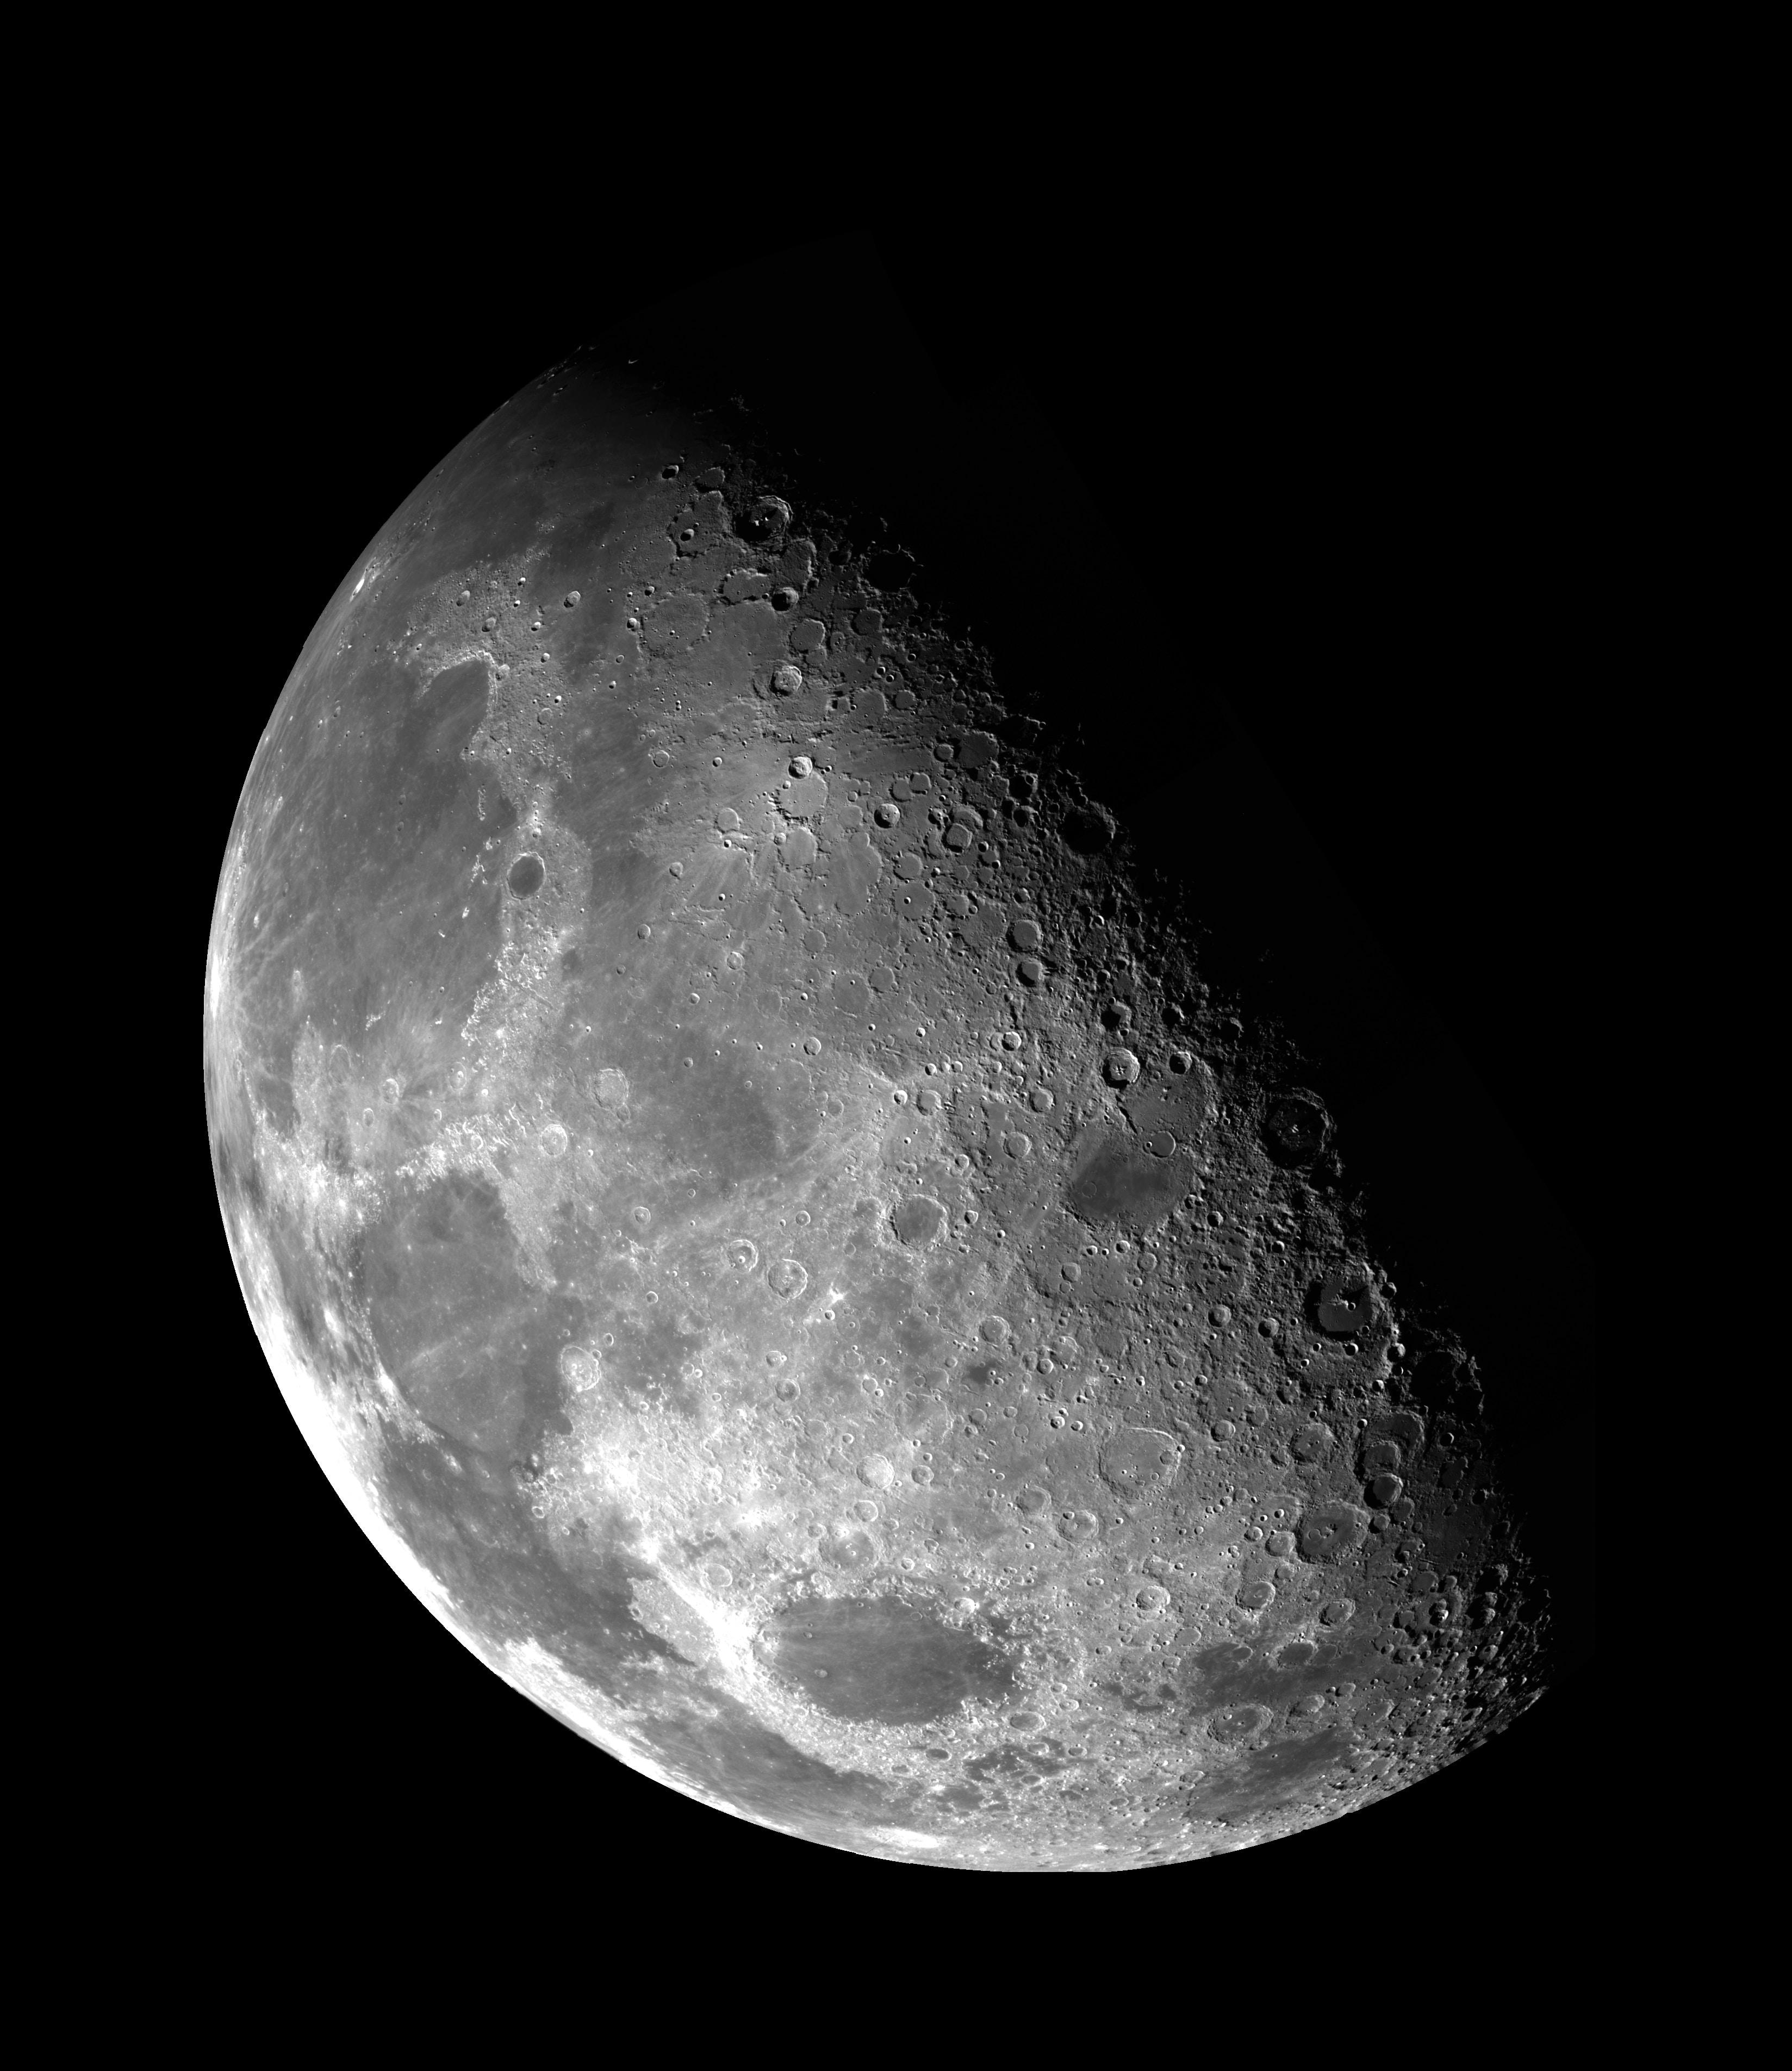
Super detailed moon shots
The magic word is: "stacking", because if you combine several shots, you end up with a sharper image. Some cameras can now do this directly in the camera, but it is advisable to do this with image processing software and finalize it. Stacking gives the final image more megapixels with each shot, which can also result in a higher data volume and computing effort for the computer. For stacking, it is advisable to use a tripod and take 5-10 shots to achieve maximum resolution.
The equipment for photographing the moon
It doesn't take much except a camera, a telephoto lens / megazoom with 200mm or more, with a good aperture below f/4. But with a system camera in particular, you can increasingly do without a tripod, which was still unthinkable with SLR cameras. Thanks to the IBIS, 6 and more apertures can be stabilized, but a tripod is still a safe alternative for a blur-free photo. Further optional filters would be an astro clear filter / night filter / sky filter and a muck filter for experimenting.
However, light pollution is less of an issue, as we show you with a hand-held photo taken by one of our store colleagues in front of the store in Düsseldorf city center.


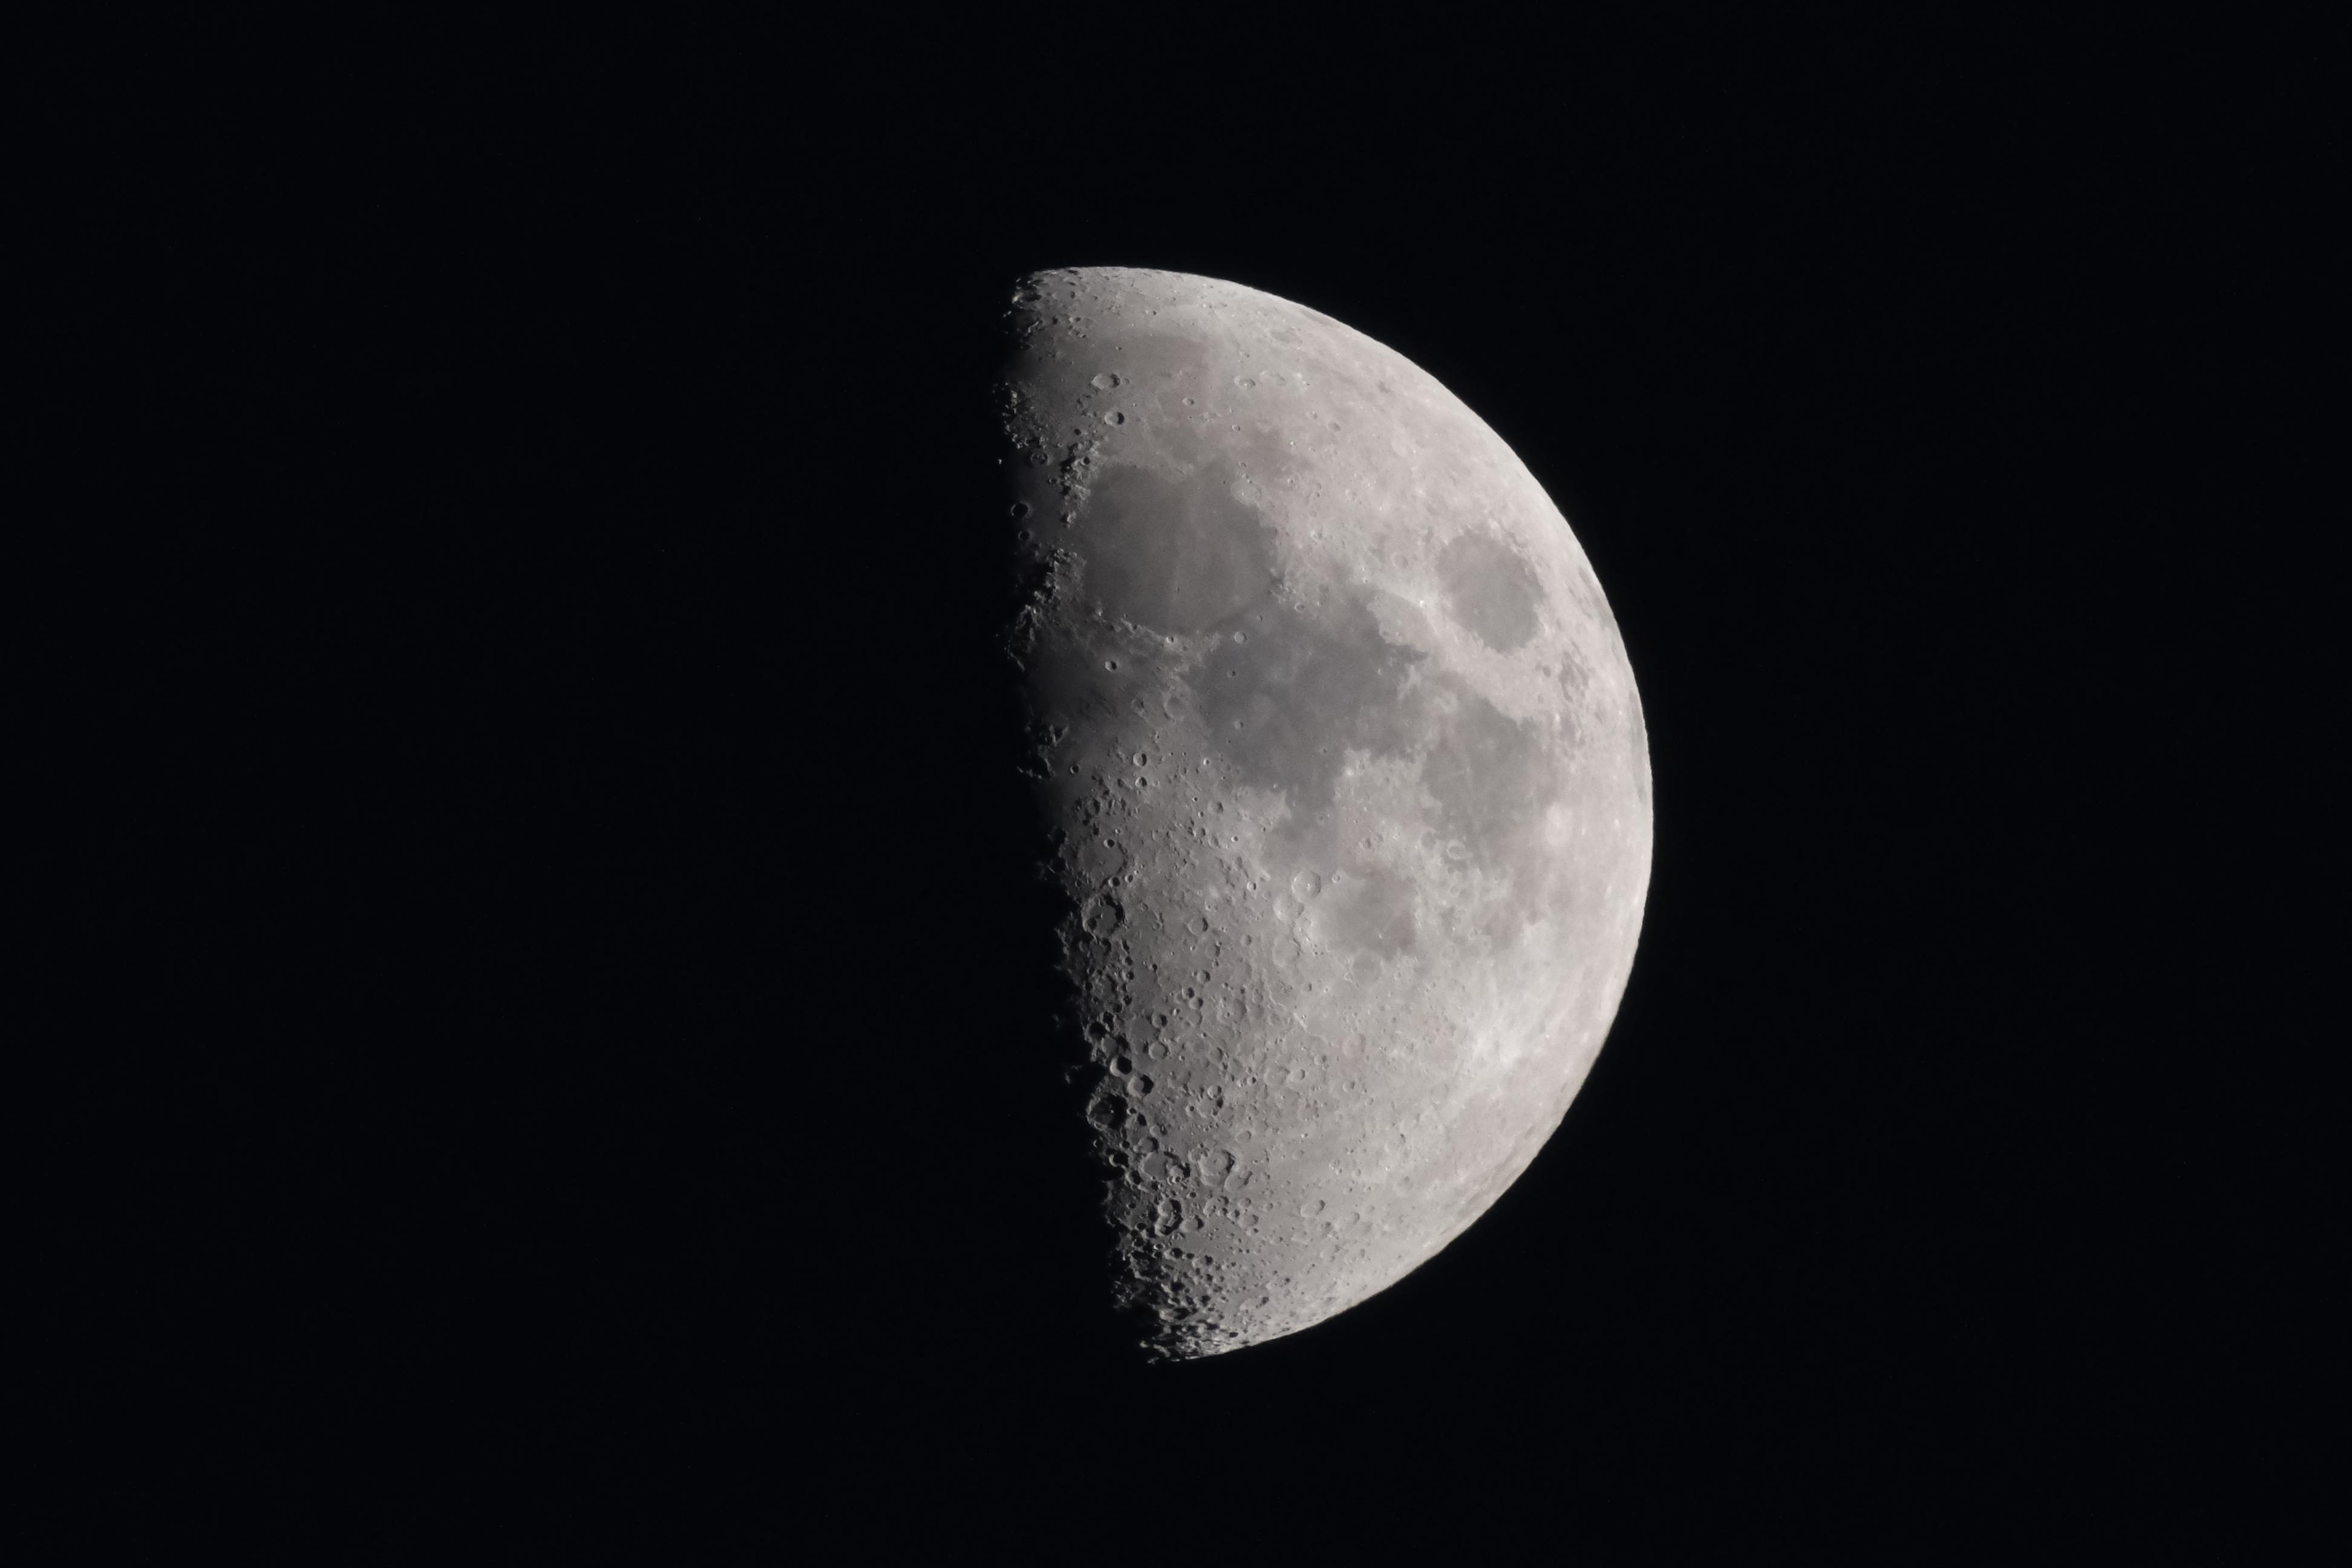 Iso 2000, shutter speed 1/500s, aperture f/11 at focal length 600mm / Lens: Fujifilm XF 150-600mm f/5.6-8 R LM OIS WR with internal digital teleconverter x2 (1200mm) | Photo Nir DagaIso 2000, shutter speed 1/500s, aperture f/11 at focal length 600mm / lens: Fujifilm XF 150-600mm f/5.6-8 R LM OIS WR with internal digital teleconverter x2 (1200mm) | shot Nir Daga
Advantage / disadvantage of cameras with crop factor
If you use an MFT or APS-C camera, you benefit from the extension of the focal length by the crop factor of 1.5 or 1.6 for APS-C and times 2 for MFT cameras, which means that the maximum possible exposure times also vary.
The only "disadvantage" of a smaller sensor is the amount of light that the system absorbs, but this can be seen as an advantage, especially when taking pictures of bright objects, as it allows different exposure times.
"Software tricks" are used on smaller cameras such as the Fujifilm X-T5, as previously mentioned, our colleagues from the store took a picture in the shadow street, i.e. with heavy light pollution and the digital teleconverter x2 and from the hand without using a tripod, the picture was taken and has not seen any image processing. The image is an 11 megapixel JPEG shot from the camera!
Post-processing the moon shots
You can then finish developing the photo in a RAW development tool of your choice and use silhouettes to correct the exposure of the moon.
The highlight slider, white point and black point are important in post-processing, as these are the best way to control the exposure and to ensure that the moon doesn't just remain gray, use the white point slider and the black point to gently increase the contrast.
For the white balance, use spot metering with the pipette (Lightroom) to correct the white point; the best way to do this is to use a central point in the moon, but there are no limits to your creativity here either.
Conclusion
It doesn't always have to be full format! In this article, we wanted to show you how to take great pictures of our Earth's satellite quickly and easily. The main thing you need is a long telephoto lens and a little patience, but with our setting tips you should be able to take great shots of the moon quickly.


